Garage doors are an essential part of our homes, providing security and convenience. However, like any mechanical system, they require maintenance. One common issue homeowners face is a broken or worn-out garage door cable. Replacing a garage door cable can seem daunting, but with the right tools and guidance, it’s a task you can handle on your own. Here’s a straightforward guide from Genesis Garage Door Repair Austin to help you through the process.
Before you begin, safety is paramount. Ensure your garage door is in the down position and disconnected from the power supply. It’s also wise to have a friend or family member assist you.
Tools and Materials Needed
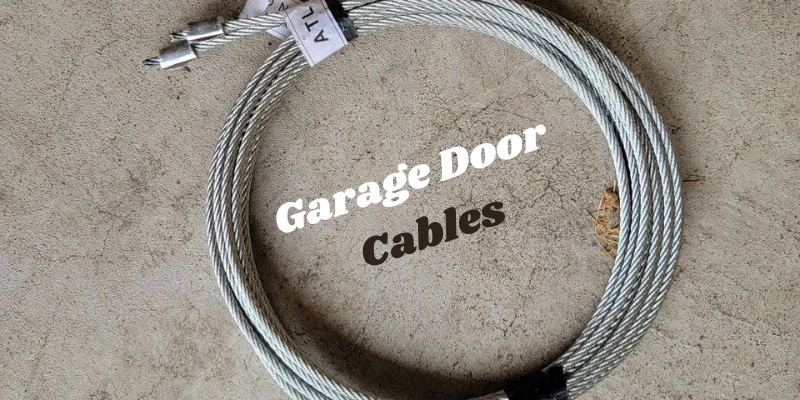
- Replacement garage door cable
- Wrench set
- Socket set
- Locking pliers
- Ladder
- Gloves
- Safety glasses
Step 1: Secure the Door
The first step in replacing a garage door cable is ensuring safety by securing the door in place. This is achieved by using locking pliers above one of the rollers on the track. This precaution is vital to prevent the door from unexpectedly opening during the repair process, which could lead to potential injury or further damage to the door mechanism.
Step 2: Loosen the Cable
Next, locate the cable drum, which is typically situated at the top corner of the door. Using a wrench, carefully loosen the set screws on the drum. This step requires a steady hand as you’ll need to carefully unwind the cable from the drum, ensuring that it’s done smoothly to avoid any tangling or damage to the cable.
Step 3: Remove Old Cable
With the tension released from the cable, you can now safely remove the old cable from the bottom bracket. It’s important to proceed with caution during this step because the bottom bracket is still under tension, and any abrupt movement can cause it to snap back.
Step 4: Attach New Cable
Thread the new cable through the bottom bracket, leading up to the cable drum. Ensure the cable runs inside the rollers, which is crucial for the proper functioning of the door. Incorrect threading can lead to operational issues or even damage the new cable.
Step 5: Wind the Cable
Wind the new cable onto the drum, maintaining a tight and aligned fit. Once the cable is in place, tighten the set screws on the drum, being mindful to avoid over-tightening, as this can lead to cable damage.
Step 6: Re-tension the Spring
With the new cable installed, the next step involves re-tensioning the torsion spring. This is a delicate part of the process that requires extreme caution. If you are not comfortable or experienced with this step, it’s advisable to seek professional assistance.
Step 7: Test the Door
Remove the locking pliers and manually lift the door to about halfway. A properly balanced door should stay in place without assistance. Check for smooth operation of the door and make any necessary adjustments to ensure proper alignment and functionality.
Step 8: Reconnect to Power
Once you are satisfied with the manual test, reconnect the door to the power supply. Test the door with the opener to confirm that the repair was successful and the door is operating smoothly and safely.
Table: Quick Comparison of Old vs. New Cable Installation
| Aspect | Old Cable | New Cable |
| Safety | Risky if worn out | Enhanced safety |
| Operation | Noisy, uneven | Smooth, quiet |
| Longevity | Compromised | Extended |
| Maintenance | Frequent checks | Reduced need |
Conclusion
Replacing a garage door cable can rejuvenate the functionality and safety of your garage door. With patience and the right tools, you can accomplish this task and ensure the smooth operation of your garage door.
Genesis Garage Door – Your Go-To Garage Door Specialists in Austin, TX
If you’re in Austin, TX, and need professional assistance with your garage door, look no further than Genesis Garage Door. Our team of experts provides top-notch service and advice for all your garage door needs. Whether it’s a simple repair or a complete installation, we’re here to help. Contact Genesis Garage Door today for reliable and friendly service.